Set up a B2B shop with prices visible only after activation
Make prices visible only after activation.
Challenge
You want to be visible to prospects, but only share prices with known customers.
A typical B2B shop that shows prices after activation is characterised by the following aspects:
-
The catalogue (products and categories) is shown in full. The prospect, i.e. a guest user, can move freely through the shop. The website is open to search engines such as Google and can therefore be found by anyone on the web.
-
Product prices are only made accessible to users who are in an active customer relationship with the shop. The user therefore has to register or log in to see prices.
This approach is typically chosen by companies with historically grown sales structures.
On the one hand, you can easily use account-based price lists in this way; on the other hand, you avoid price transparency on the market.
Step-by-step guide
Proceed as follows to configure your TradelinePro shop accordingly:
Define sales channel
Define the sales channel for this sales route. All of the following settings are then made on the basis of the sales channel.
Categories and products
Add the desired categories and products to the system and make them available in the sales channel.
Restrict price visibility via customer groups
We will treat the system customer group Standard customer group as reserved for guest users from now on.
Step 1:
Change the visibility of prices and the ability to purchase for this customer group.
To do this, open Settings -> Customer groups and click the row containing the customer group Standard customer group.
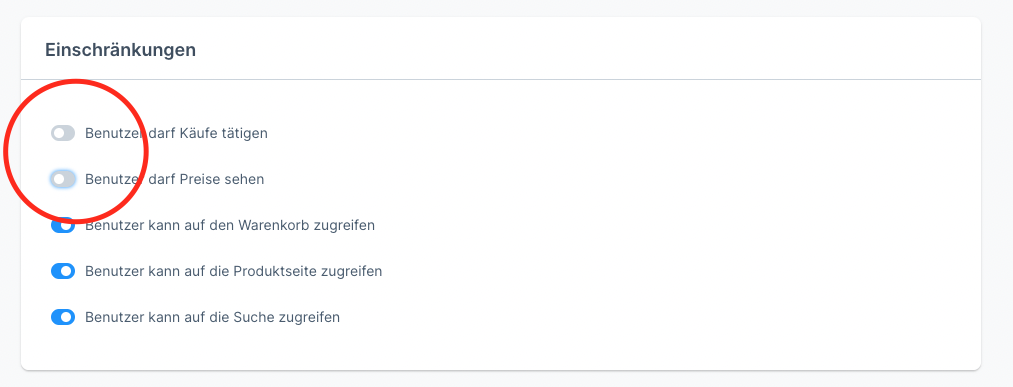
You will find the settings in the lower section. Change the values for prices and purchasing to no.
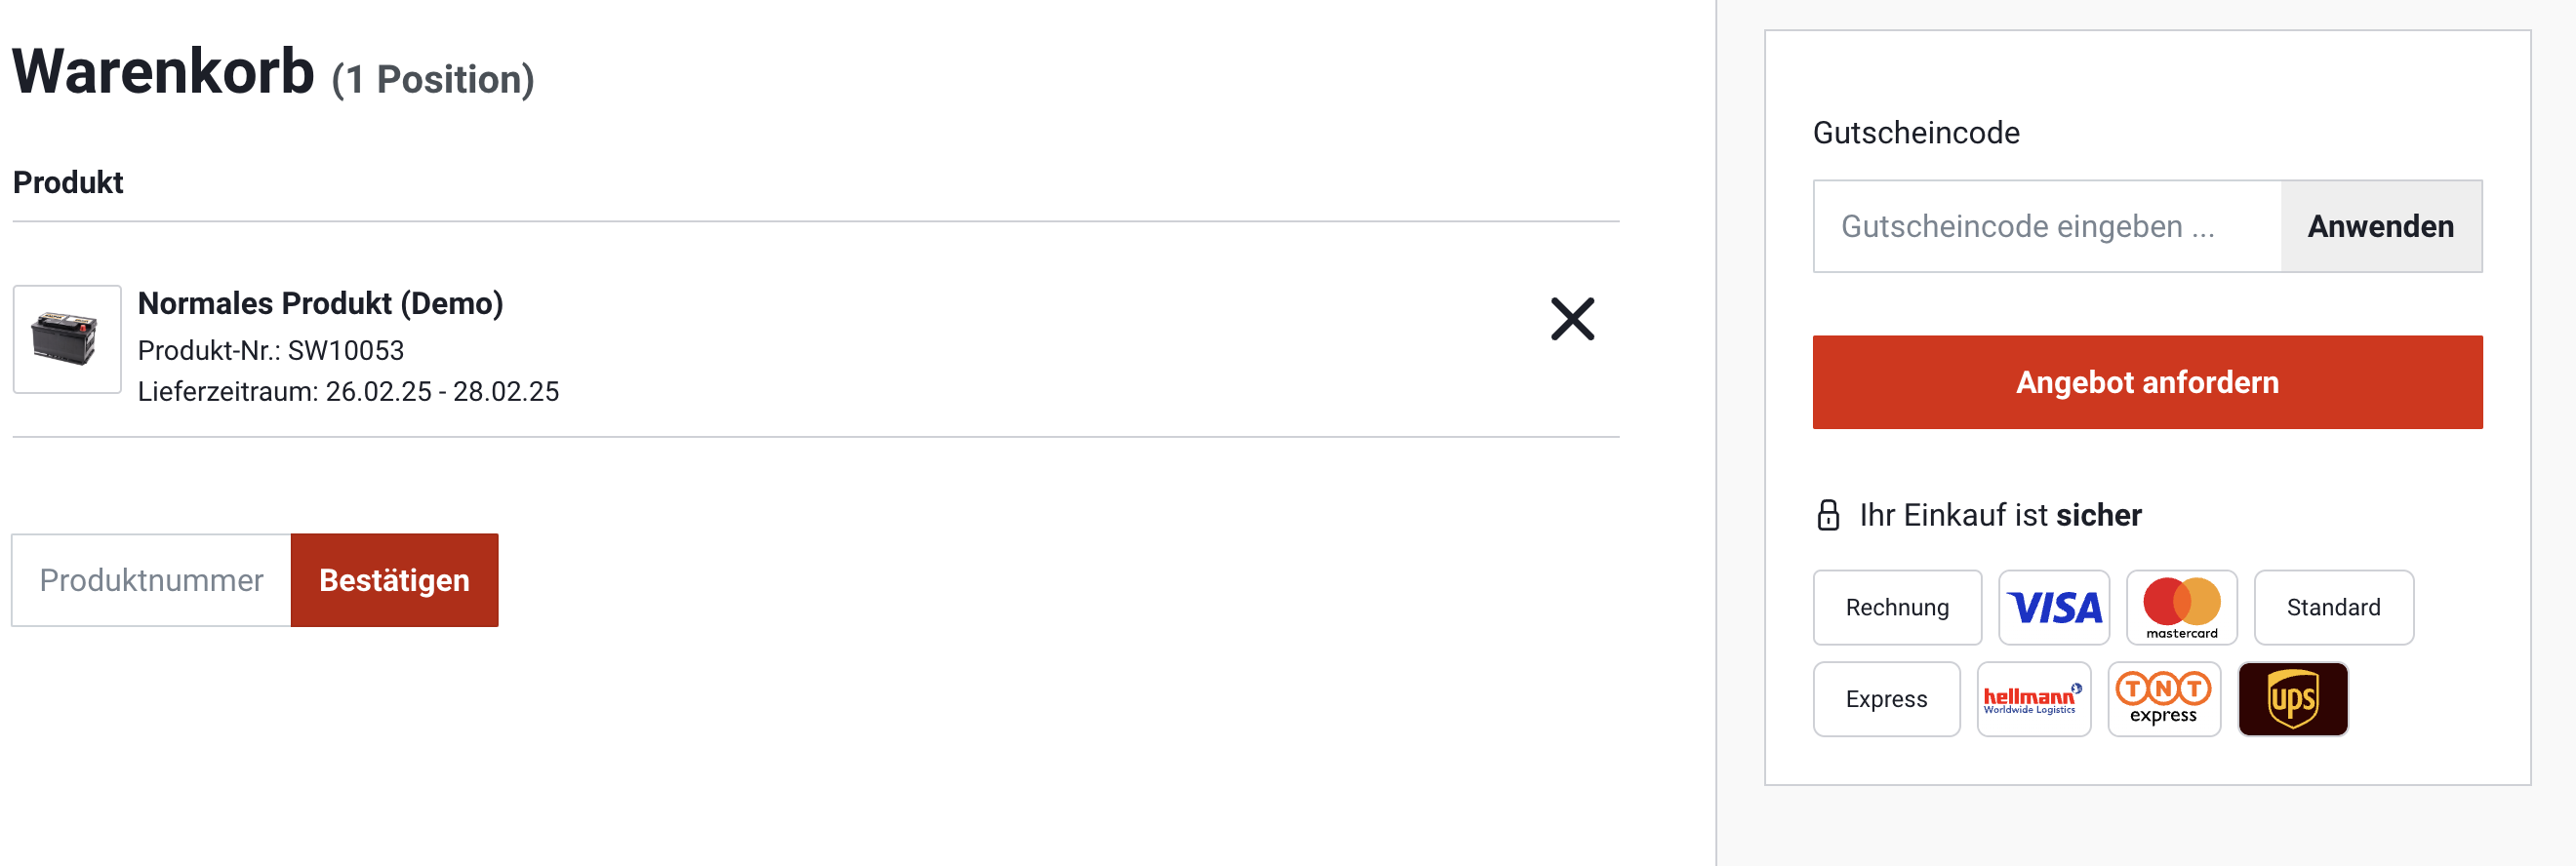
This means that guest users will no longer see any prices in the storefront. Users can still open the cart but can no longer proceed to checkout. In the cart, you can give users the option to request the products as a quotation. You can find out exactly how this works here.
Step 2:
Now create a new customer group, for example with the name Existing customers group. We will use this new customer group from now on for registered users. Customer tiers or similar differentiations can be set up via additional customer groups.
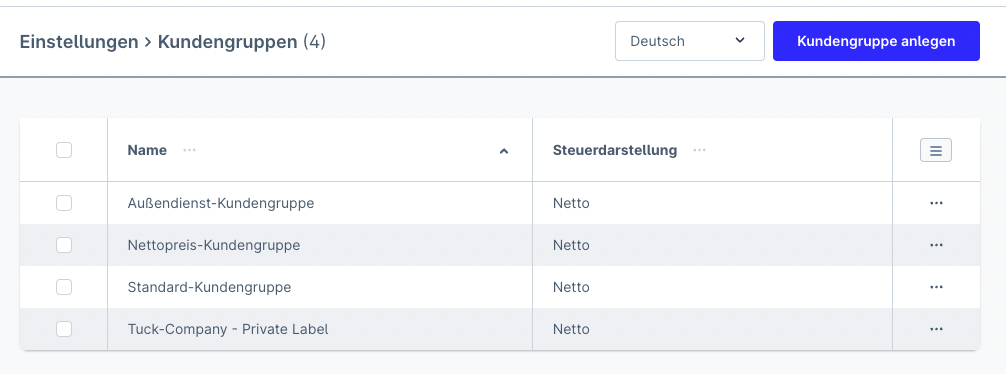
To do this, open Settings -> Customer groups and click the button Create customer group.
In the form, enter the new name Existing customers group and leave all other settings as preset.

Step 3:
Now make sure that new customer registrations are always automatically transferred to the appropriate Existing customers group.
Establish an activation process for new registrations
Open the company account settings and set "Automatically approve companies" to "no".
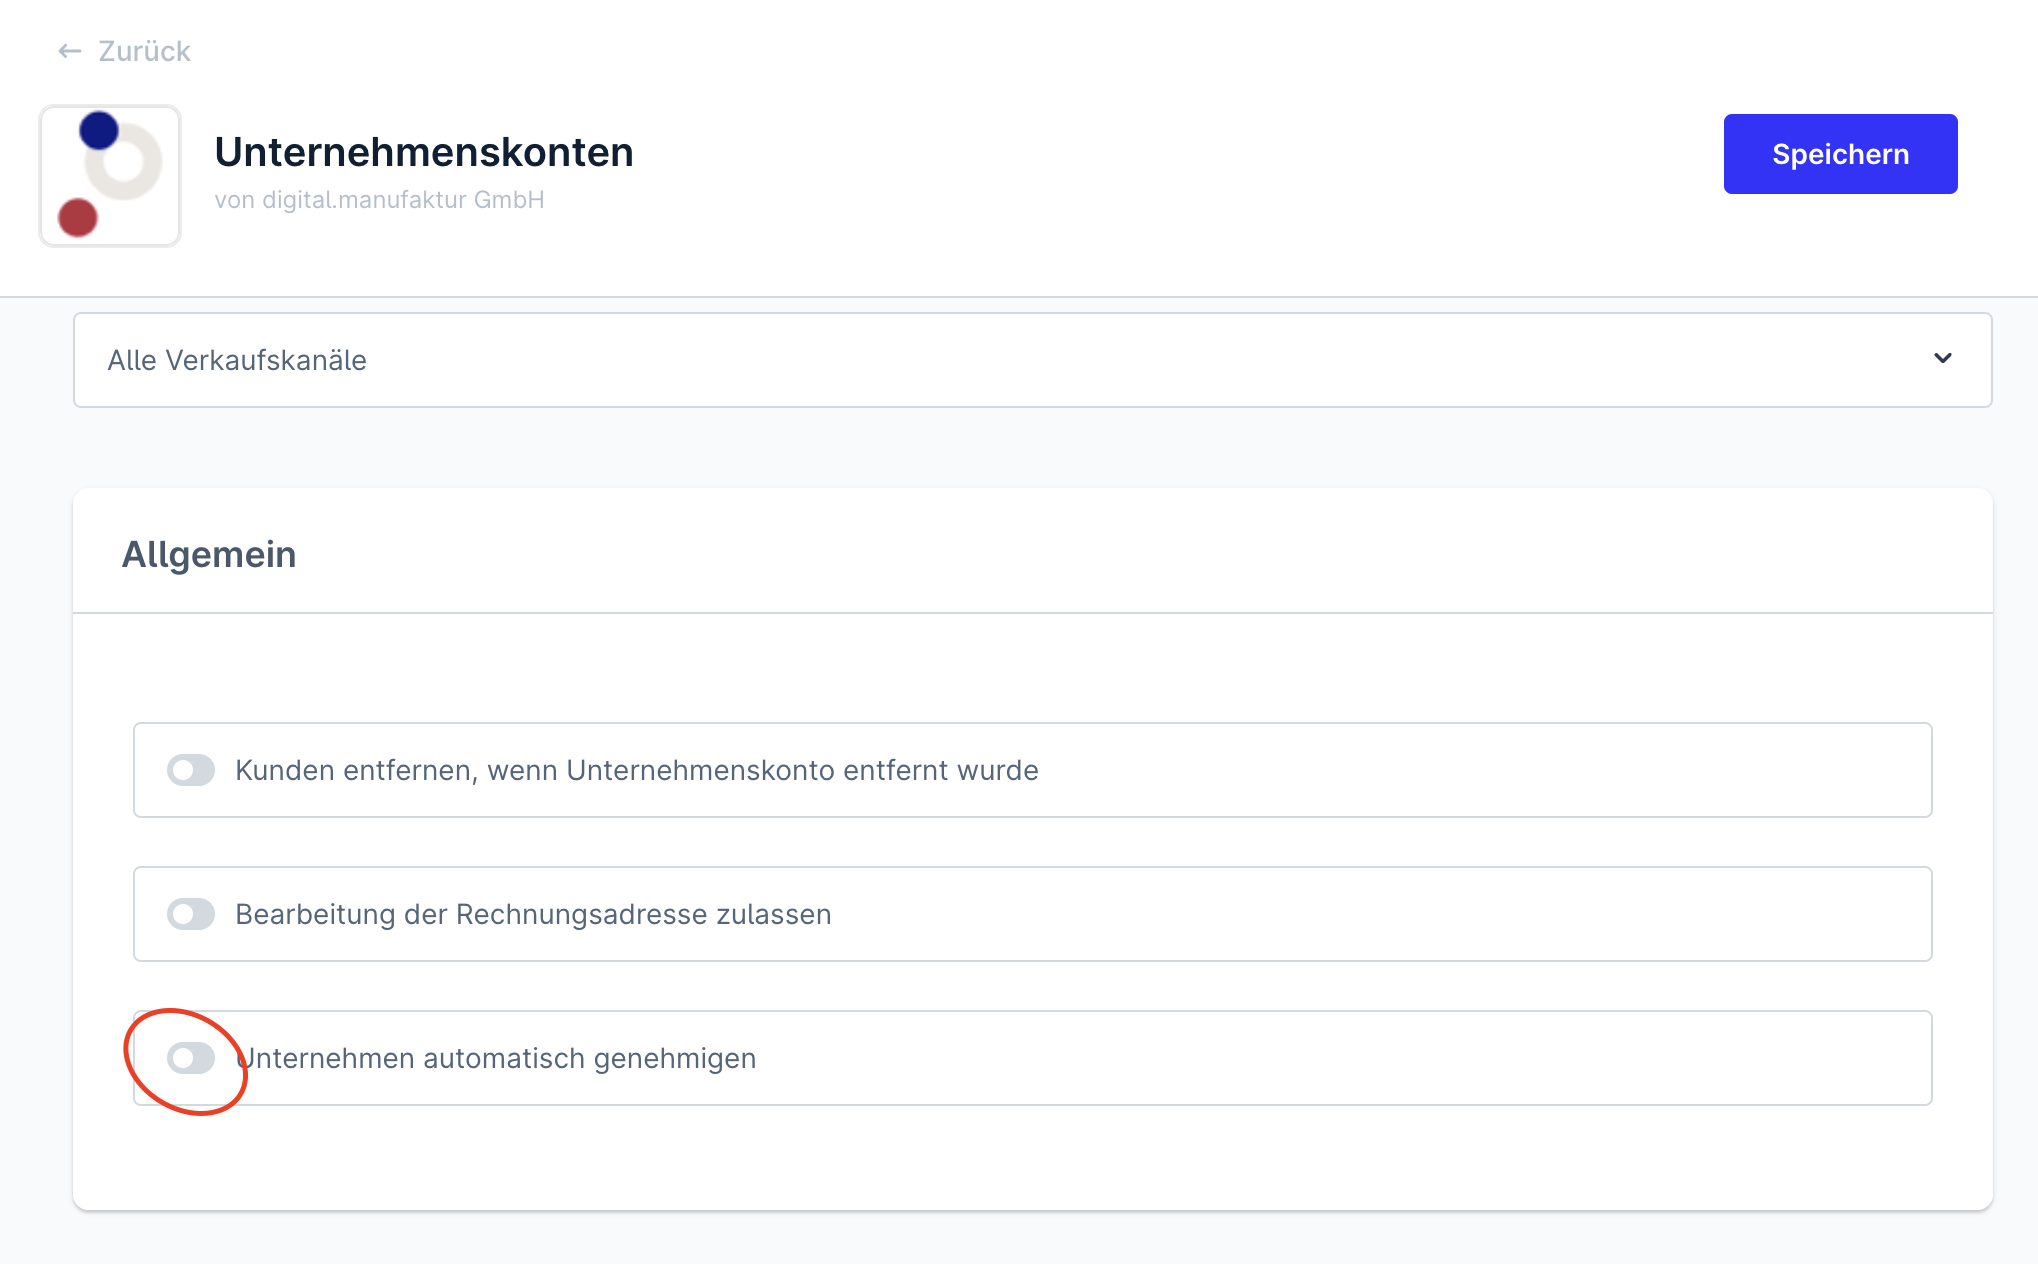
In this way, new registrations are not activated directly but must be reviewed and activated by a shop employee in an activation process.
Result
Your shop is now configured for a partially private mode.
Products are now shown without prices throughout.
The cart function is retained and can, for example, be used to request a quotation.